Friday, October 31, 2014

Happy Halloween Everyone!! 8-)

Hi All! And a Very Happy Halloween to you!! Today I'm back with a Super Quick post to share my latest 'Just For Fun' creation Gasp! Lol!...8-) I can't even remember the last time I did a project just for the fun of it, lol... ;-) And being that it's my last Halloween project of the year, I figured today would be the Perfect day to share it, lol 8-)
Well, I was walking through my local Michaels the other day and spied this Awesomely Spooky Stampendous Raven BG stamp, and just HAD to have it!! lol.. I always make a bunch of Halloween card every year to send out to friends and family and new this would be a Super addition to my Halloween stamp collection...Not to mention it's pretty much an all-encompasing stamp and would make Spook-tacular Halloween cards in a Jiffy too.. And You know I just LOOOOOOOVE that! ;-)
I started off by stamping my Stampendous Raven BG images onto some parchment paper I had tucked away in my stash and added some distressing with Antique Linen & Vintage Photo Distress inks...
Next I added a bit of color here and there to my Raven & his Witchy Hat with my trusty Copics. My Mats and BG's were created with Bazzill CS and some Fun Halloween patterned papers I've had in my stash FOREVER, from Basic Grey's Eerie collection. 
And to finish them all up, I added some Yummy Bakers twine and charms created with a few Basic Grey Eerie Cardstock stickers. See, pretty easy peasy, huh?... 8-)

Hope you all have a Spook-tacularly Fun and Safe Halloween & Thanks so much for dropping in! 8-)
Thanks for stopping by!

Thursday, October 30, 2014

Taylored Expressions - Thankful for you - Die Foucus

Hi all! And a Very Happy Thursday to you! 8-) Well, today I'm back with a quick post, to share my latest Taylored Expressions creation inspired by TE's Awesome Mix & Match Bows Dies, TE's Sack It Pumpkin Dies & TE's Bushel & a Peck stamp set as well, to create these Fun Patchwork Pumpkin Thanksgiving cards!...;-)
I had lots of fun putting these Darling Fallicious cards together! 8-)  I just can't help it I love All things Fall and Fall colors especially, I was just having such a tough time deciding which patterned papers to use, that I took a hint from our heirloom style fall patchwork quilt  that I had just put out on our bed and thought, hmmm, wonder if I could do that with my pumpkins.. lol  So what do you think?  I kind of like them... ;-)
I started off by cutting my Sack It Pumpkins out of several different patterned papers, some older ones I've had in my stash forever and some Simple Stories Sweater Weather patterned papers as well. Next I cut my pumpkins up into various pieces, inked them all up with Vintage Photo Distress ink and fit them all back together like jig-saw puzzles on top of scratch paper BG Sack It Pumpkin Die cuts ( for guide purposes ) and popped them all up with a bit of foam tape... 8-) 
My Mats and BG layers were created with Bazzill CS, TE's Sugar Cube Premium CS & a touch of shading with Vintage Photo Distress ink. And to finish them all up I stamped my Bushel & a Peck Sentiment directly onto my Sweet patchwork pumpkins and topped them all off with some Yummy Taylored Felt bows created with the help of TE's Mix & Match Bows Dies... 8-)

Here are the items I used for my project today...


Hope you all have a Super day & Thanks so much for stopping by... 8-) 
Thanks for stopping by!


Sunday, October 19, 2014

Taylored Expressions - Happy Holidays - Pinterest Inspiration! 8-)

Hi all! And a Very Happy Monday to you! Hope you all had a Super weekend! 8-) Well, today I'm back with a quick post, to share my latest Taylored Expressions creation inspired by TE's Awesome O Christmas Tree Dies  & TE's Baby It's Cold Outside  stamp setand some Awesome Pinterest Inspiration as well, from this Pin HERE of a Super Sweet Christmas Card that I just LOVE, created by my Sweet Teamie Shelly Mercado!!...;-)

Here's Shelly's Awesome make..
And here's my inspired take... 8-)
I actually made up a few of these Fun Holiday makes as I completely depleted my Christmas card supply last year, and now find myself desperately in need of LOTS of handmade Christmas cards for this years mailing list YIKES!! lol ;-) And I completely LOVE that these will be easily mailed with no extra bulk but still have lots of Cozy Christmas Sparkle! 8-)  Thanks for the inspiration Shelly!! ;-)
Believe it or not, these Fun Festive cards came together really quickly with the help of TE's O Christmas Tree Dies, TE's Build a Scene Rolling Hills Dies, TE's Sugar Cube Premium CS, a bit of foam tape along with Some Sparkly Green CS and Gold Sparkly CS from my stash as well..8-) My Mats and BG layers were created with TE's Pea Pod & Salt Water Taffy Premium CS's, TE's Snowfall Embossing Folder and my White Sharpie marker... To finish them all up I just stamped TE's Baby It's Cold Outside sentiment with Memento Tuxedo Black onto my BG's... 8-)

Here are the items I used for my projects today...

Hope you all have a fantastic day & Thanks so much for stopping by! 8-)
Thanks for stopping by!

Tuesday, October 7, 2014

Taylored Expressions - Merry Christmas Doors Card set... 8-)

Hi all! And a Very Happy Tuesday to you! 8-) Well, today I'm back with a quick post, to share my latest Taylored Expressions creation inspired by TE's Awesome Chalkboard Elements, & TE's Sparkle & Cheer stamp sets, along with TE's P&P Label It Dies as well, to create these Fun Vintagey Christmas cards Completely inspired by this AWESOME card set HERE created by the Uber talented Melissa Phillips!...;-)
I started off my creating my little Red Doors with TE's TE's P&P Label It Dies cut in half,  distressed with Vintage Photo Distress ink, adhered to rectangular cuts of Cranberry CS from my stash & popped up with a bit of foam tape.
For my Mats & BG's I chose Simple Stories Cozy Christmas 6x6 collection, TE's Toffee Premium CS an a touch of shading with Vintage Photo Distress ink.
To create my Door Decorations, I used TE's Tiny Topper's Dies and a bit of Doodle twineto create my Holliday Swags & Wreaths.. 8-)
To finish them all up, I stamped them with my TE's Sparkle & Cheer Sentiments and Chalkboard Elements Accents, added a bit more Doodle twine, and a few adhesive nail heads for my card's door knobs... Pretty easy peasy, huh?... 8-)

Here are the items I used for my projects today...


Hope you all have a Super day & Thanks so much for dropping in! 8-)
Thanks for stopping by!

Thursday, October 2, 2014

Taylored Expressions October Release Day! - Mitten Garland... 8-)

Hi All! And a Very Happy Thursday to you! 8-) Haven't you just Loved ALL the AWESOME Sneak Peeks the last few days!! I know I sure have!! Talk about LOTS of Amazing New Goodies!! Whoo Hoo! ;-) Well I've got some Really Great News!... All of the new Taylored Expressions products are now available in the New Department. Yay!! Time to do some Shopping! Whoo Hoo! ;-) 

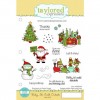
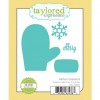
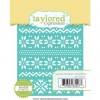
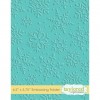
And today I am So Thrilled to share One more Super Cute October New Release project featuring TE's Brand New
Mitten Garland Dies, TE's Brand New Winter Flurry Embossing Folder, TE's Brand New Sweater Weather Cutting Plate and some Seriously Yummy Taylored Felt too!
!... 8-)

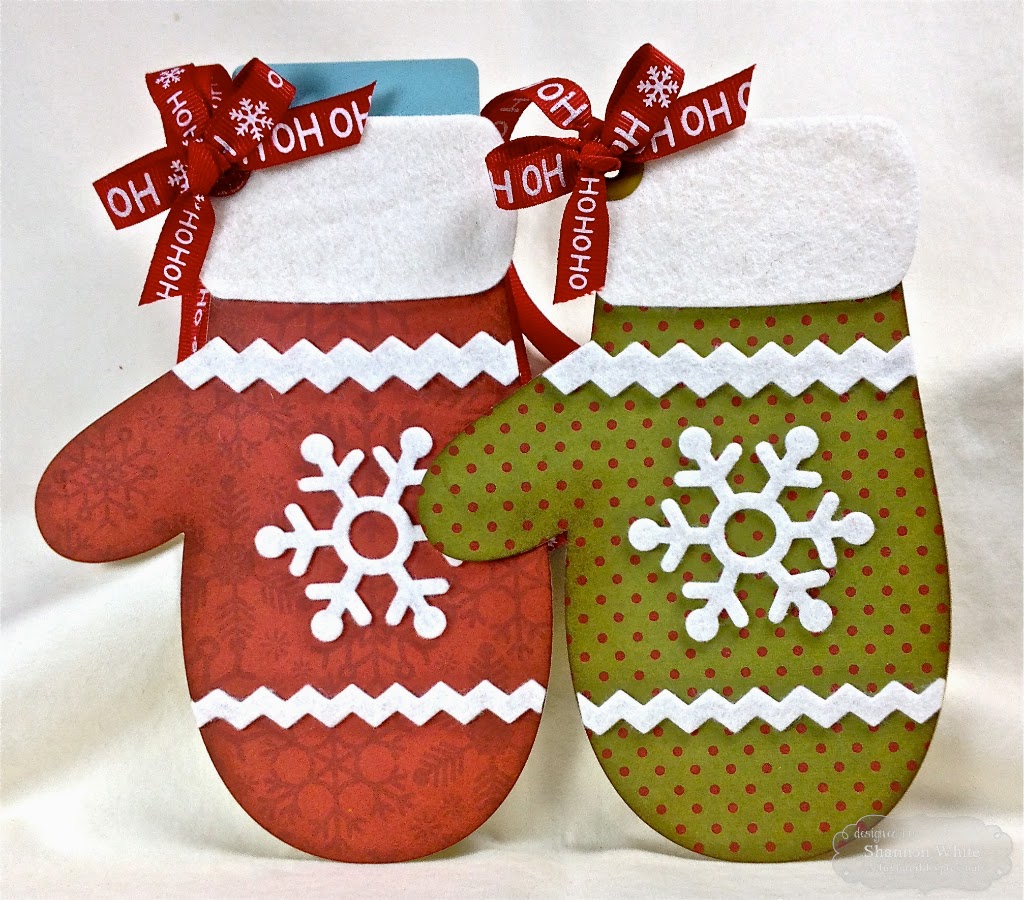
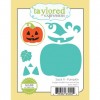
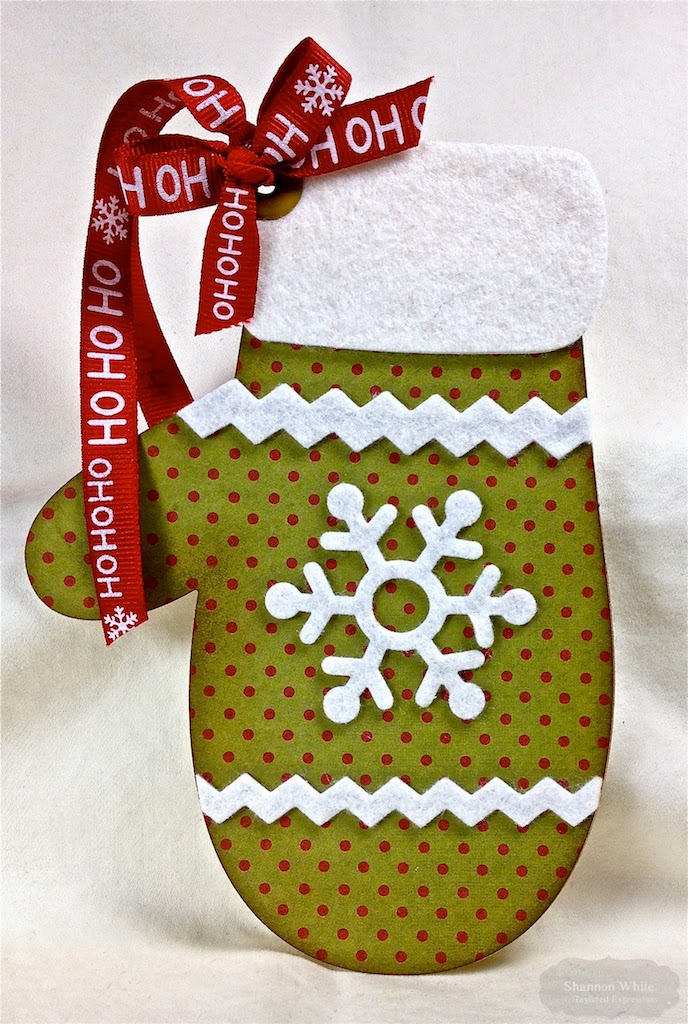
OMGoodness aren't these the Sweetest Ever!! 8-) You could totally make a Darling Mitten Garland with them to create some Festive Home Decor for sure! But I thought I 'd try my hand at something a little different and create some fun Mitten Gift Card Holder Tags instead. What a Super Cute way to add additional Festive decoration to your packages, include a Gift Card and tag your Gift's recipients all at the same time!! Yay!!  I LOVE it!! And I had so much fun with these Darling Dies, that I made a couple of different sets of them too... ;-)
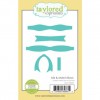
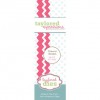
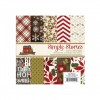
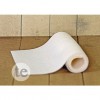
These came together Super Quick too! And of course you know I am loving that, lol. 8-)  I started off by cutting two Mittens with TE's Sugar Cube Premium CS and then 2 more with Simple Stories Cozy Christmas 6x6 collection. Next I Inked my edges with a touch of Vintage Photo Distress ink & embellished the Cozy Christmas fronts with the help of TE's Mitten Garland's Snowflake Die, TE's Chevron Borders Dies and a bit of Marshmallow Taylored Felt.
Next  I Adhered the Mittens fronts to their backs, (which I left white so I could put TO: & FROM:  Tag info on the backs.) with a thin line of Tombow Mono-Multi Liquid Glue & left plenty of room so Gift Cards could be easily slipped into the Mitten Cuffs and then easily removed as well... 8-) To finish them all up, I added We R Memory Keepers Wide Eyelets and some Festive Ribbon from my stash.... 8-)

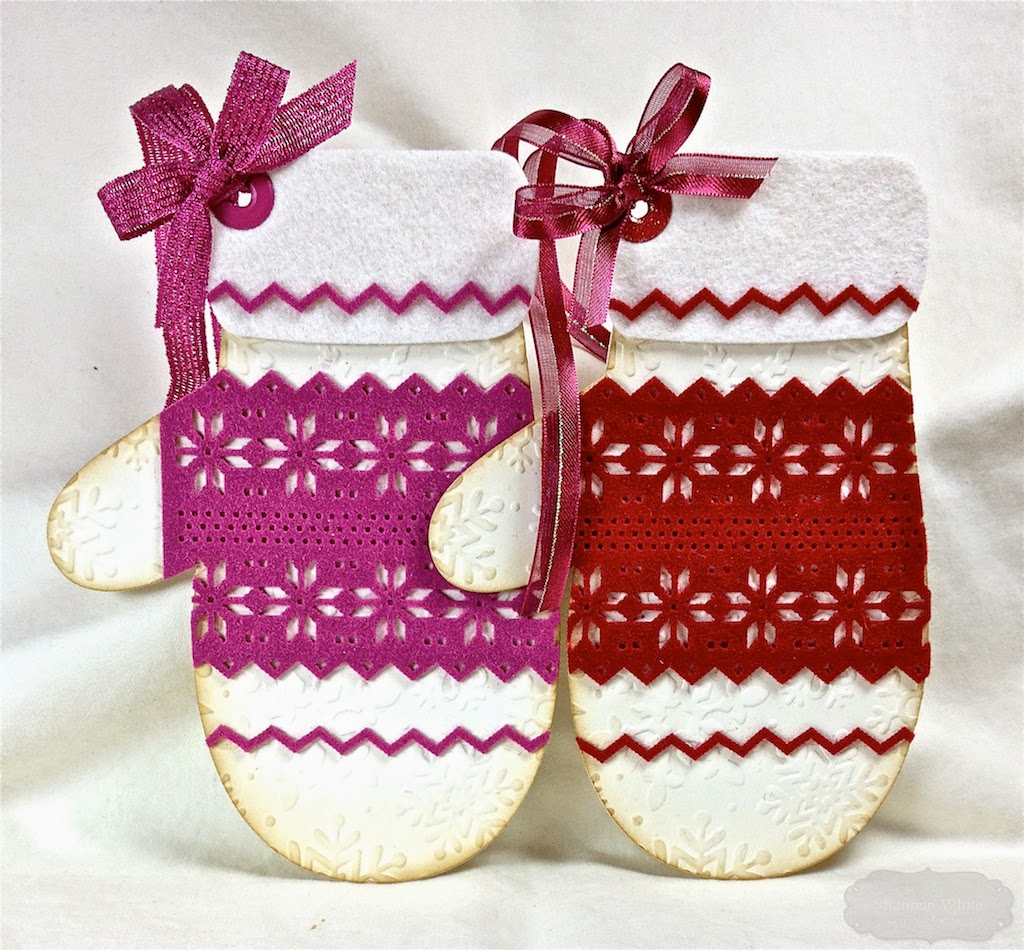
And since I was having So much fun with these Awesome Dies. I just HAD to create a 2nd set! This time around, I thought I'd make them just a little bit fancier.... ;-)
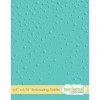
This time around I Embossed my Mitten Garland Bases with TE's New Winter Flurry Embossing Folder and inked my edges with a touch of Antique Linen & Vintage Photo Distress inks to add a Vintage feel.
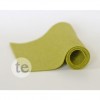
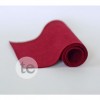
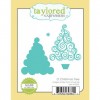
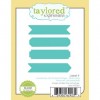
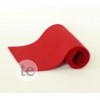
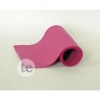
And to continue on with the Vintagey feel, I thought I'd use TEs' Brand New Sweater Weather Cutting Plate to cut out some Yummy Cranberry & Raspberry  Jam Taylored Felt to embellish the fronts of my Mitten Gift Card Holder Tags.  
And there you have it! I used the same steps to assemble the rest of my Fancy Mitten Gift Card Holder Tags as the first set of simpler ones at the top of my post.I just used different Wide eyelets and fancier coordinated ribbons from my stash. Pretty easy peasy, huh?... 8-)

Thanks So much for visiting, Crafty Friends!! If you'd like to see more projects and new product information, please head over to the TE Blog for a complete blog roll of all our participating Designers HERE!!...;-) 

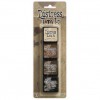
Here are all the items I used for my projects today...
   Thanks for stopping by!